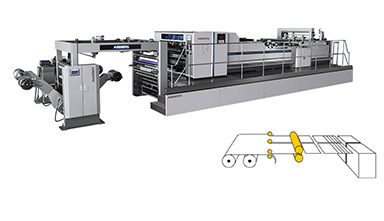
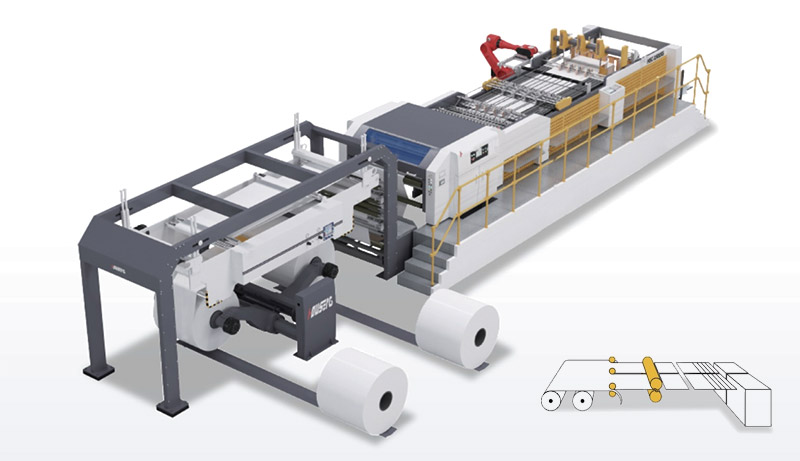
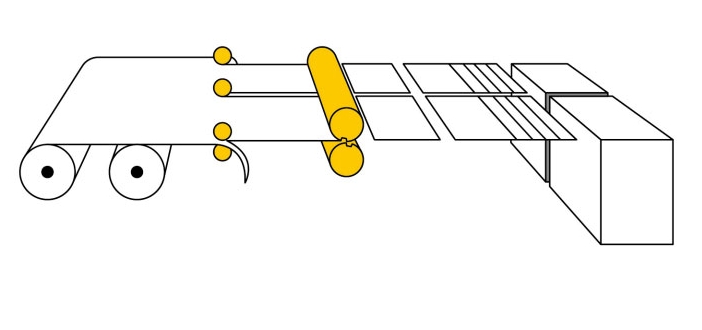
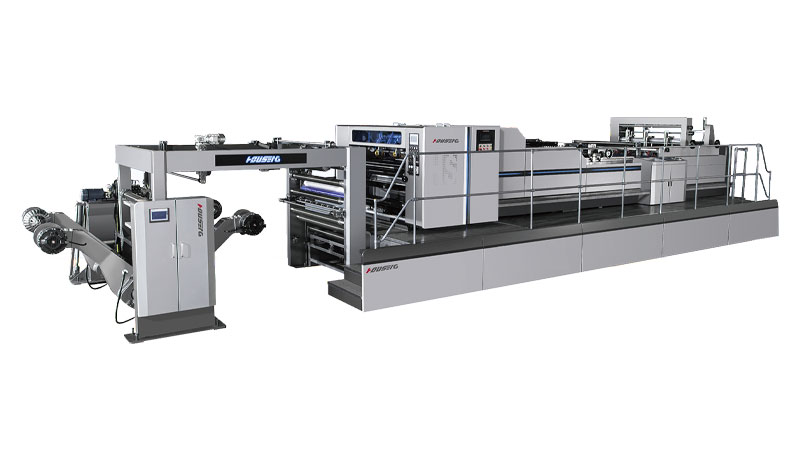
In today’s fast-paced work and creative environments, efficient paper processing is no longer a luxury—it’s a necessity. From trimming office documents to preparing materials for production, the Paper Sheet Cutter Machine stands out as a foundational tool that bridges the gap between messy paper stacks and polished, uniform results. Its versatility means it fits seamlessly into diverse industries, solving common pain points like uneven cuts, wasted materials, and time-consuming manual work. Whether you’re a small business owner, a teacher, or a production manager, understanding how this machine works can transform your daily workflows.
Applications in Printing and Packaging Industries
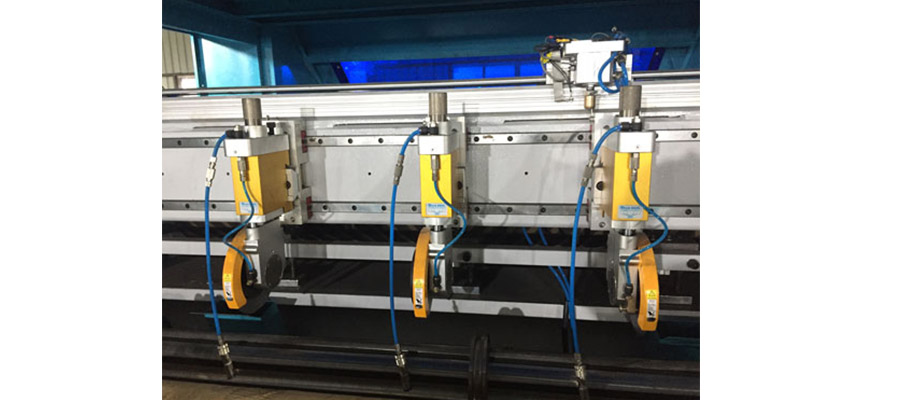
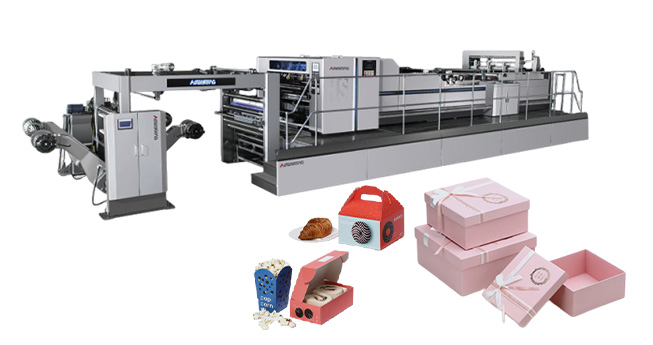
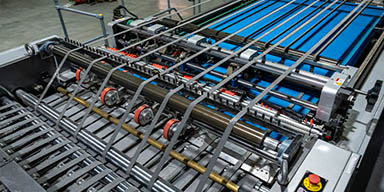
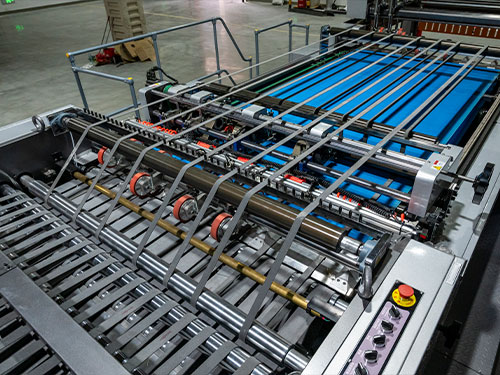
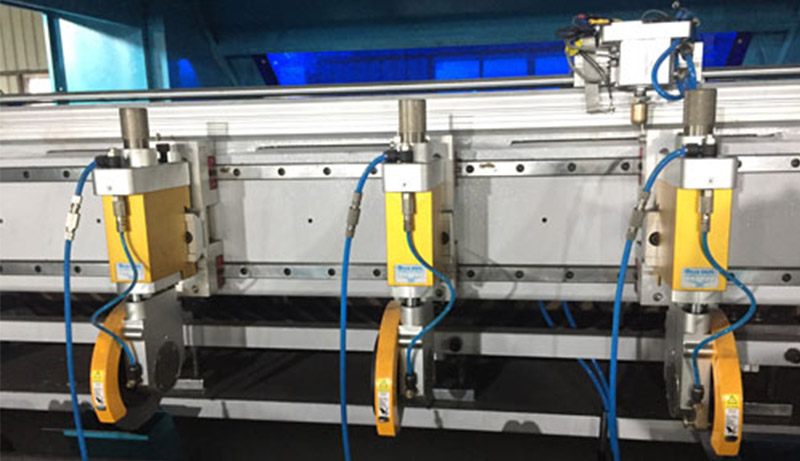
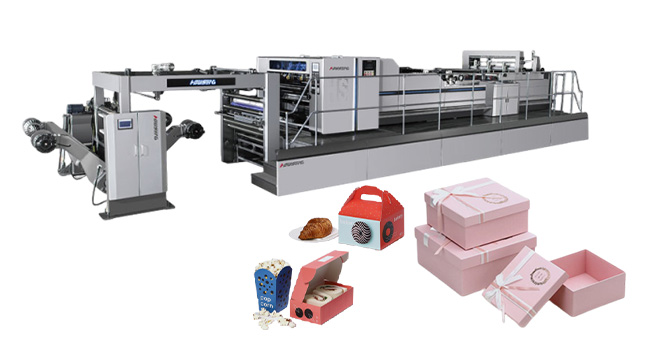
The printing and packaging sectors demand precision, and an industrial-grade Paper Sheet Cutter Machine is non-negotiable here. When producing bulk items like product catalogs, brochures, or packaging inserts, every sheet must be identical to ensure proper assembly and a professional finish. A high-precision Paper Sheet Cutter Machine can handle hundreds of sheets at once, maintaining accuracy even with heavy use—critical for avoiding costly reprints due to cutting errors. For packaging specifically, consistent cuts directly impact customer experience: a slightly uneven box flap or insert can ruin unboxing, so manufacturers rely on these machines to uphold quality standards. They also adapt to diverse materials, from glossy flyer paper to thick cardboard, making them versatile for mixed production runs.
Supporting Small-Scale Production and Handicrafts
Small businesses and handicraft makers often operate with limited staff, so efficiency tools like a reliable Paper Sheet Cutter Machine are game-changers. Consider a small notebook maker: every inner page and cover must align perfectly to look professional. A size-adjustable Paper Sheet Cutter Machine lets them set a fixed dimension and repeat cuts quickly, eliminating the need for extra labor. Similarly, artisans making paper decor (origami garlands, lanterns) use these machines to cut uniform shapes in bulk, speeding up production while keeping quality high. For these businesses, the machine isn’t just a cost-saver—it’s a way to scale operations, meet customer demand, and compete with larger brands through polished, consistent products.
Paper Sheet Cutter Machines in Office Environments
Offices are where Paper Sheet Cutter Machines first prove their value in everyday use. Think about the tasks that pile up: preparing meeting agendas that need A3 sheets trimmed to A4, cutting promotional flyers into standard sizes, or creating uniform business cards from larger paper stock. A portable Paper Sheet Cutter Machine eliminates the frustration of manual cutting—no more lopsided edges that waste paper, or spending 20 minutes on a task that should take 2. Even small teams benefit: administrative staff can focus on client work instead of tedious trimming, and sensitive documents are handled safely (many models include safety locks to prevent accidents). For offices that prioritize efficiency, this machine isn’t just a tool—it’s a time-saver that keeps workflows on track.
Use Cases in Education and Creative Sectors
Schools and creative studios rely on Paper Sheet Cutter Machines to turn ideas into tangible materials. In classrooms, teachers use small-scale models to create teaching aids—flashcards for language lessons, colorful worksheet strips, or poster pieces for displays. Manual cutting would take hours and result in inconsistent sizes that distract from learning; a Paper Sheet Cutter Machine ensures every flashcard or worksheet is uniform, letting students focus on content. For creatives—like greeting card designers, handcraft makers, or scrapbookers—a versatile Paper Sheet Cutter Machine unlocks flexibility. It trims custom sizes (square postcards, slim bookmarks) and handles delicate materials (tissue paper for flowers, watercolor paper for art prints) without tearing. This freedom lets creatives experiment without worrying about the practicality of cutting.
conclusion
From offices to factories, classrooms to studios, the Paper Sheet Cutter Machine is an unsung hero that simplifies work and elevates results. Its ability to adapt to different volumes, materials, and sizes makes it indispensable—whether you’re cutting 10 sheets or 500. Investing in one means less time on tedious tasks, less material waste, and more focus on what matters: growing your business, teaching effectively, or creating.
If you’re ready to upgrade your paper processing workflow, start by exploring Paper Sheet Cutter Machine options that fit your needs—compact models for small spaces, heavy-duty ones for large runs. Every precise cut will save you time, and every uniform sheet will boost the quality of your work.
For more insights on industrial tools, practical usage tips, and industry trends, feel free to contact HAOSHENG the for content tailored to professionals like you.
This article contains approximately 30% AI-assisted content.

 2025/10/09